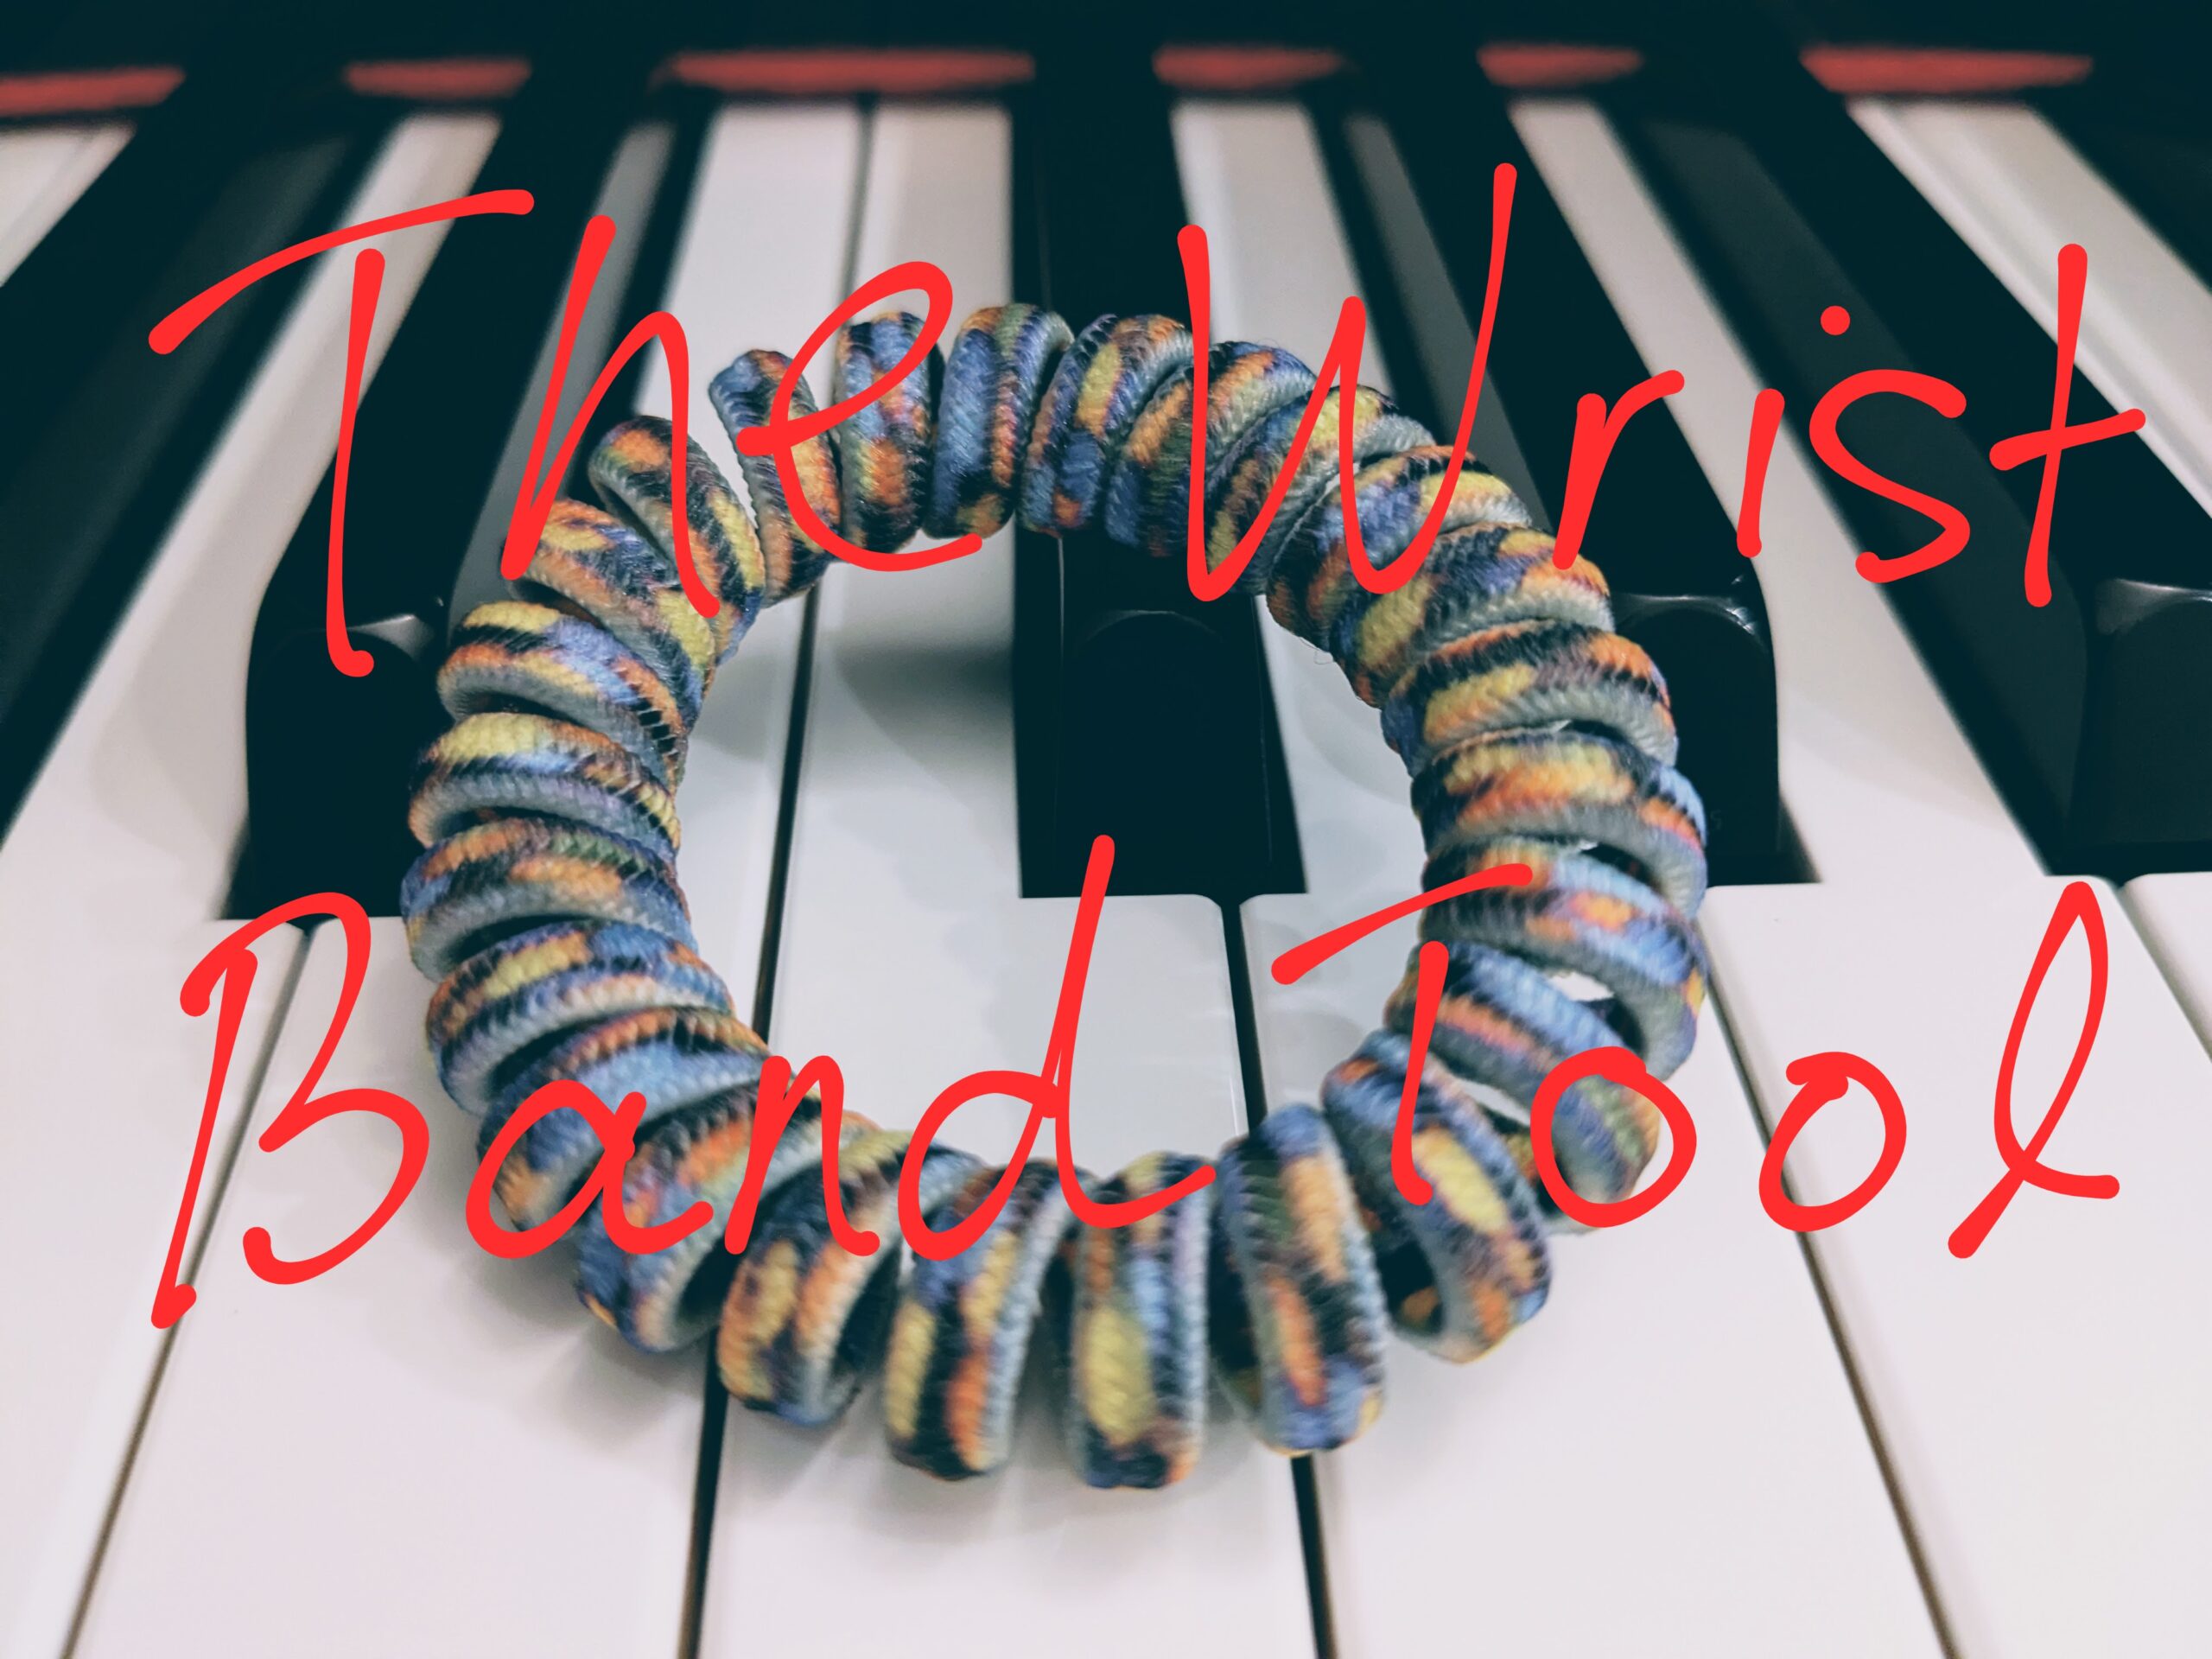
“Your wrist is stiff.” Such was a comment I received from a jury member at the last competition I took part in. A known but unsolved puzzle for me at the time. Now armed with motor learning theory knowledge and external focus tools in hand, I began the quest to reprogram my wrist motions.
To start, I needed a working definition for the ideal qualities of the wrist: strong and supple. Suppleness refers to an easy flexibility with good range of motion; strength refers to the firmness needed for transferring force to the keys, to be applied only as and when needed, no more, no less. (Also the positivity of my word choices is intentional, in contrast to the double negativity of “don’t be stiff.”) There are many degrees of freedom that work in conjunction: a strong core, power from the back and shoulder, fluid elbow motions, finger agility and strength. In this post, I will single out just one component of a strong and supple wrist: the wrist motion itself.
The Wrist Band Tool
Introducing the Wrist Band Tool, a simple external focus tool for learning correct wrist motions. This is a very general tool that can be used when learning any wrist technique.
Instructions for using the Wrist Band Tool
Equipment:
Find an elastic band, hair tie, ribbon or other suitable household item that you can wear around your wrist. Choose something easily visible to draw your attention, and ideally with patterns or knots that will also indicate the rotational motions of the wrist. Have it fit snugly, but not too tight to restrict movement or disrupt blood flow.
Steps:
- Determine the correct motion of your wrist for the passage you want to play. It may be circular, up/down, sideways, rotational, etc.
- Determine the corresponding shape in space that your wrist band should trace, or rotations in the positions of the patterns or knots on the band for rotational wrist motions. In the video, I show a rolling shape in space, with the colorful patterns on the band rotating around the axis of the wrist. This tracing is a consequence of the wrist rotation technique for playing scales.
- While focusing your attention on the band, play the passage and focus on moving the band* so that it traces the correct shape or pattern from step 2.
- Repeat a few times, and conscientiously associate your correct band motions with successful renditions of the passage you are playing.
- Progress to trying without the band, but continue to imagine that the band is still on your wrist and that you are moving the imaginary band.
- If and when you need a refresher, put the band back on.
*Note: If you find yourself focusing on your wrist instead of the band, you are reverting to an internal focus. Try again, and focus specifically on the band’s motions.
An important point to understand about the Wrist Band Tool, and with any learning method, is to have a pathway for progressively internalizing the skill. The tool itself does not lead to skill mastery, and should not be used as a permanent crutch. There are several important considerations in this pathway:
- Step 4 is important for forming an association between the learnt movements and the desired outcome.
- Step 5 serves as a bridge between the learning stage and mastery stage. When the gap from learning to internalization is large, intermediate stages with modified external focuses may be needed. Converting a physical object into an imagery focus is a great option to bridge the gap.
- Learning is a nonlinear process, so do not be abashed to revert to using the tool as advised in Step 6. Sometimes, some skills just take longer to internalize.
With conscientious effort in forming the right associations and bridging the gap towards internalization, you will eventually master the skill and “outgrow” the Tool.
This tool can be used at all levels and stages of learning. In the video below, I show how I practiced a passage from a Chopin Sonata, in which I play the 1/16th notes in the right hand with a counter-clockwise motion, and clockwise in the left hand. There is also an interesting backstory: I used to play my left hand passage with a counter-clockwise motion, until I made this video! Now, having re-programmed my wrists with a clockwise motion, I found that the new technique greatly reduced forearm strain.
What if my technique is different from yours?
If you learnt a different wrist technique from what I demonstrated here, by all means do as you were taught. I am not trying to promote any particular choice of technique. The point is to show how this external focus tool can help you learn your choice of technique. So, regardless of how you want your wrist to move, you can still use this tool to help you learn your desired wrist motion.
Relax the wrist?
Relaxing the wrist is a conundrum of an instruction. What do I do to relax it? Doesn’t relax mean to not do anything (like, relax on the beach)? How is my wrist supposed to be relaxed while playing arpeggios at neck-breaking speed or huge chord leaps at forte? Relaxing the wrist is a nonspecific and unactionable directive on it’s own, plus it’s inherently an internal focus. That’s why I refrain from using that phrase, in favor of devising positive and concrete external focus goals for learning.1
What external focus tools do you use to learn proper wrist technique? I would love to hear your ideas!


Leave a Reply